Handstand Progression: From Wall Holds to a Freestanding Handstand
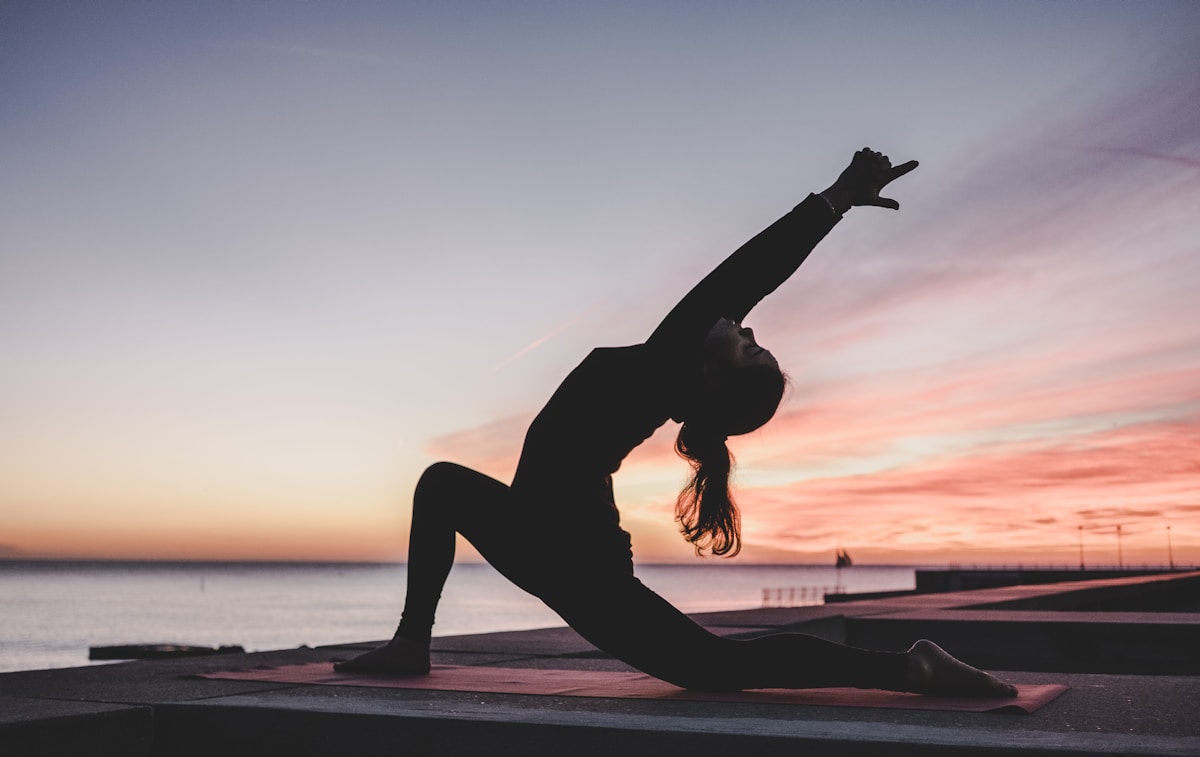
- Primary Signal: Handstand Progression: From Wall Holds to a Freestanding Handstand
- Overview: A patient, step-by-step handstand progression builds the shoulder strength and balance you need, without the fear of falling....
- Verification: Analyzed and compiled by SkyFree Athletics editorial monitoring desk.
A freestanding handstand looks like a balance trick, but it is mostly a strength and consistency project that most healthy adults can complete in three to twelve months. The secret is a progression that builds each piece separately: shoulder strength, straight body position, and balance. Skip steps and you will stall; follow them in order and each stage feels like a small, achievable win.
Stage one is the wall walk and chest-to-wall hold. Walk your feet up a wall until your chest faces it, then hold a straight line from wrists to ankles for twenty to sixty seconds. This builds the shoulder endurance a handstand demands and teaches the hollow-body position: ribs down, glutes squeezed, toes pointed. Practise three to five holds, three times a week, until sixty seconds feels comfortable.
Stage two is learning to fall safely, because fear of falling is what stops most people. Practise the bail-out: from a chest-to-wall hold, step one foot down to the floor, or learn a controlled forward roll out of a back-to-wall kick-up on soft ground. Once you trust that you can exit safely, your kick-ups become braver and cleaner almost immediately.
Stage three is the back-to-wall kick-up with a catch. Stand facing away from the wall, kick up gently, and let the wall catch your heels. The goal is a soft, controlled kick that lands you in a straight line, not a wild lunge. Ten minutes of kick-up practice, focusing on a gentle kick and a tight body, beats an hour of random attempts. Rest between attempts so fatigue does not teach sloppy patterns.
Stage four is balance work away from the wall. Start with heel pulls and toe pulls: from a brief freestanding hold, press through your fingers to stop falling forward, or press through your palms to stop falling back. These tiny corrections are the real skill of the handstand. Short holds of three to ten seconds, repeated often, build balance faster than chasing one long hold.
Keep sessions short, frequent, and fresh. Fifteen minutes, four times a week, beats one exhausting weekend session. Warm up your wrists and shoulders every time, stop when your shoulders feel heavy, and film yourself once a week to check your line. The day your first five-second freestanding hold clicks will feel like magic, but it will really be the compound interest of all those patient wall holds.
Before chasing freestanding balance, check your shoulder strength benchmarks. You should be able to hold a chest-to-wall handstand for sixty seconds, do ten pike push-ups with good form, and hold a plank for ninety seconds without your hips sagging. If any benchmark is missing, spend three weeks building it before adding balance work. A handstand built on weak shoulders feels shaky and scary; one built on strong shoulders feels stable from the first short hold.
Fear is the hidden barrier in handstand training, and the fix is environmental. Practise on grass, a mat, or carpet, never on concrete when learning kick-ups, and keep the area behind you clear. Practise bailing out first in every session until it feels boring, because boredom with the exit means your brain trusts it. Many adults progress faster once they schedule short, playful sessions rather than treating handstand practice as a test they might fail.
Handstands pair well with pull and push training but should come first in a session, when your shoulders are fresh. Add them two to four times per week, fifteen minutes at a time, and keep total weekly volume modest. If your shoulders ache the next day, you did too much; cut the session length in half rather than skipping the week entirely. Consistency over months, not heroic single sessions, is what produces a freestanding handstand.
📖 Continue Reading the Full Story
Continue reading this article on SkyFree Athletics.
⚡ Access Full Content NowMore from SkyFree Athletics



 💎 LuxeLiving 768
Crypto APY Calculator Australia: 2026 Staking Rewards Guide
Australian crypto investors: estimate your staking rewards with a crypto APY calculator. Compare APY vs APR, c...
 ✈️ SkyFree Club
Mobile & Cloud Optimization: Playback Speed Calculator — Video Time at Any Speed (Day 16 Guide)
Testing responsive workflows with the Playback Speed Calculator — Video Time at Any Speed on SkyFree Club. Dis...
 🖋️ SkyFree Chronicles
Expert Insights: Playback Speed Calculator — Video Time at Any Speed (Day 8 Guide)
The science behind our free Playback Speed Calculator — Video Time at Any Speed on SkyFree Chronicles. Discove...
🌿 SkyFree Living
Practical Playbook: Playback Speed Calculator — Video Time at Any Speed (Day 9 Guide)
Solving critical challenges with the Playback Speed Calculator — Video Time at Any Speed on SkyFree Living. Di...